Garage Door Not Working, Light Flashing? Check First
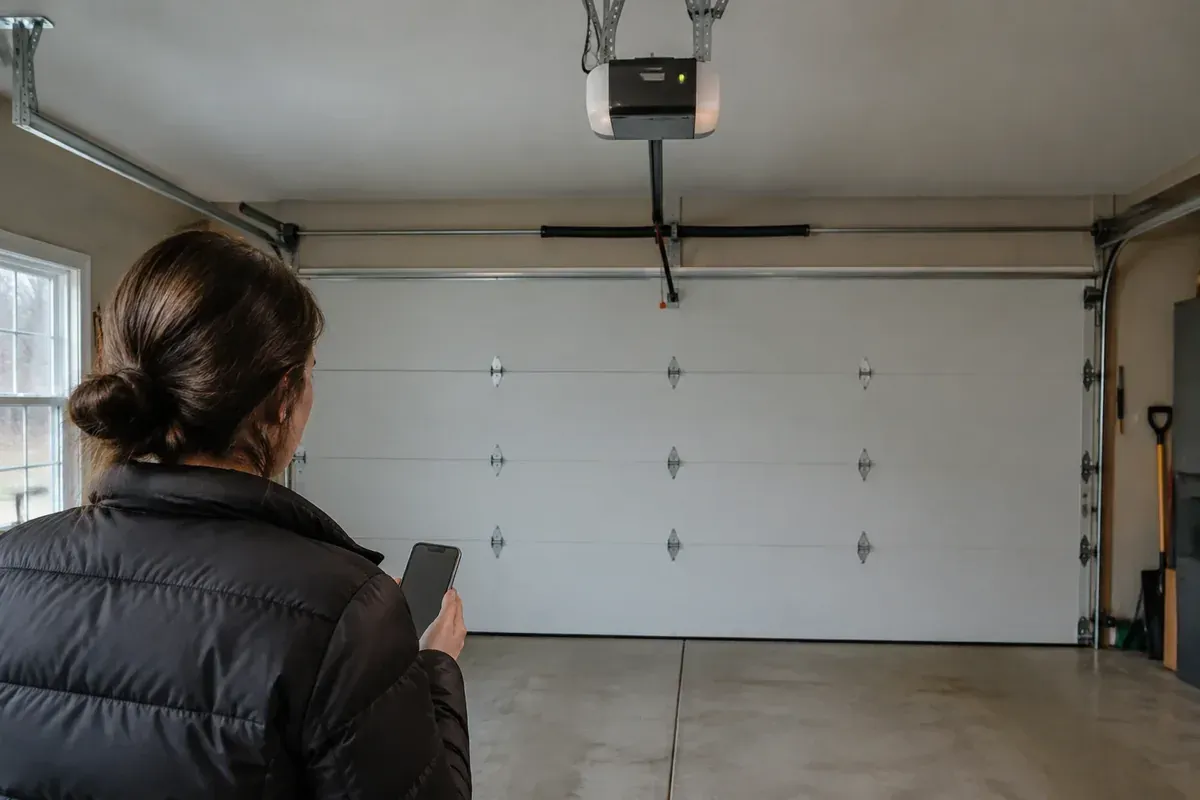
If your garage door is not working and a light is flashing, don't reset the opener yet. First, identify which light is blinking, record the pattern, and check the manual for your exact model. A flashing ceiling lamp, safety-sensor light, and wall-control indicator can point to different problems.
Keep people and pets away from the door while you check. If the door is crooked, hanging, or has loose cables, stop using it. For an unresolved indicator or an unsafe door, garage door opener repair in Lima can help separate an opener fault from a door problem.
Garage Door Not Working, Light Flashing? Start Here
A blinking light is a clue, not a diagnosis. The same color or flash count can mean different things on different opener models. Advice that fits a neighbor's unit may not apply to yours, even if both carry the same brand name.
Before pressing anything else, look at the door itself. Is it fully closed, partly open, or sitting unevenly? Is anything caught beneath it, leaning against a track, or blocking its path?
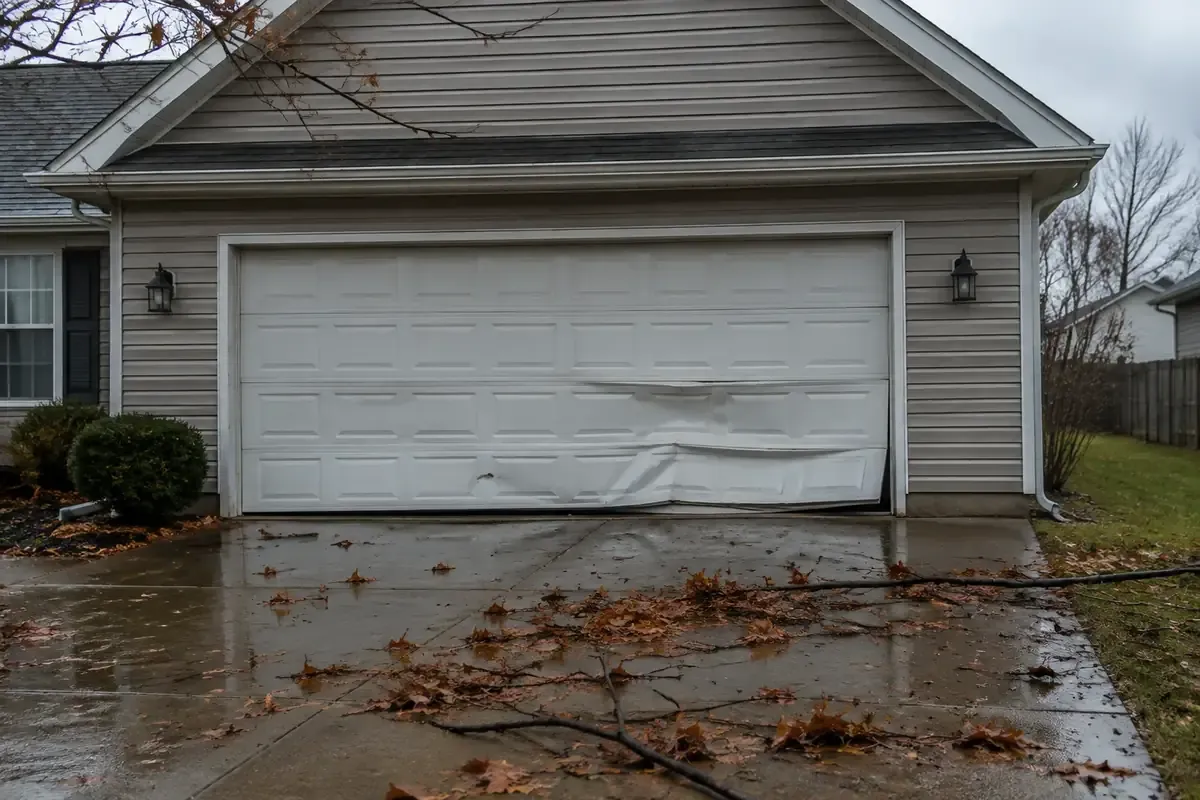
Do not run the opener if a panel is bent into the track, a roller has come out, or a cable looks loose. Do not pull the emergency release on an open or partly open door that may have a broken spring or cable. The opener may be helping hold it in place.
Capture the symptom before changing anything
If the door looks stable and the opener is already flashing, take a short video from a safe spot. Include the light and any sounds you hear. A repeating pattern with a pause is easier to review on video than to remember while you're frustrated.
Record these details:
- Where the flashing light is located.
- Its color and whether it blinks steadily or in groups.
- Whether separate indicators flash in sequence.
- Whether the flashing starts by itself or after a command.
- Whether the motor hums, clicks, moves the door, or stays silent.
- Whether the problem began after an outage, storm, impact, or recent work.
Don't keep cycling the door to collect more evidence. One clear description of what already happened is more useful than repeated attempts that strain the equipment.
Identify Which Light Is Actually Flashing
When someone says, “The garage door light is blinking,” that can describe several different parts. Pinpointing the location is the fastest way to avoid following the wrong troubleshooting steps.
| Light location | What it may tell you | Best next step |
|---|---|---|
| Main lamp on the ceiling-mounted opener | An operating response, warning, or lighting issue, depending on the model | Record when it flashes and check the manual's lighting and troubleshooting sections |
| Small indicator near buttons on the motor housing | Diagnostic, setup, programming, or connection status | Identify the exact button or indicator label without pressing it |
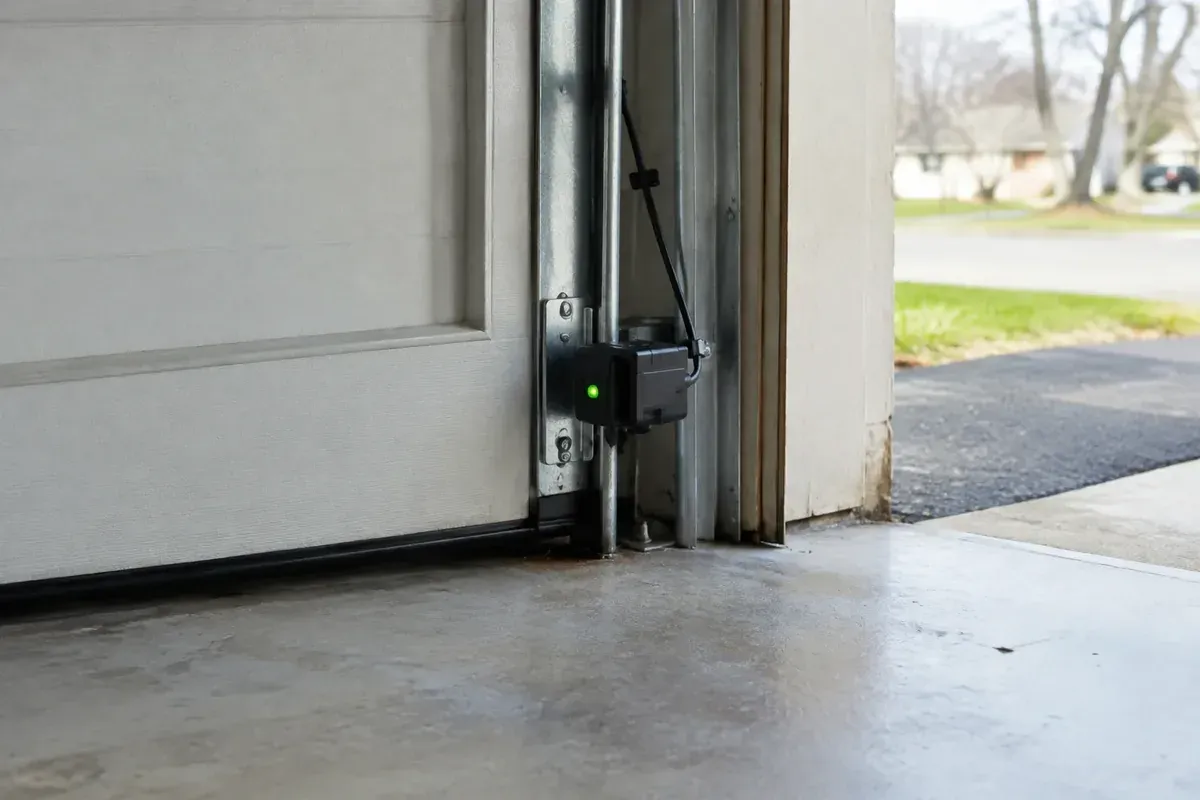
| Safety sensor near the bottom of a door track | Sensor power, alignment, or beam status, depending on the system | Look for blocked lenses, shifted brackets, or visible wire damage |
| Wall-mounted control | Lock, programming, connection, or other control status | Check the wall control's instructions as well as the opener manual |
| Separate LED garage light fixture | A lighting or electrical issue that may be unrelated to the opener | Determine whether the fixture flashes while the opener is idle |
A yellow light is not a universal warning
Don't diagnose the problem by the light's color alone. Identify whether you're looking at an indicator near a setup button or a light on a floor-level sensor. Record its location, whether it is steady or blinking, and the opener model before checking the manual.
Don't use a flash-count chart unless it matches your equipment and the indicator you're watching.
The main lamp is different from a diagnostic indicator
The large lamp that lights the garage may flash as part of the opener's normal response to certain conditions. A small indicator on the housing may communicate a more specific status.
A flickering bulb can also look like a warning when it is really a lamp problem. Watch for whether the small status indicators change at the same time. That distinction helps you decide which manual section to read.
Match the Pattern to Your Exact Opener Manual
Find the opener's model label without removing the housing or reaching near moving parts. Photograph the label if it is safely visible. If reaching it would require leaning over the door or using an unstable ladder, leave that step for a technician.
The wall control or remote may have its own model number. That number can identify the accessory, but it may not identify the motor unit. Use the opener's model when looking up its diagnostic information.
Read the whole code description
Look for headings such as troubleshooting, diagnostic indicators, safety sensors, or wall-control status. Match the location and pattern, not just the color. Some systems use paired indicators, so a pattern can be incomplete if you watch only one light.
Read the recommended action and any warning that goes with it. A chart may direct you to inspect a sensor connection, while another entry calls for service. Those are not interchangeable instructions.
Avoid using instructions for a similar-looking opener as a shortcut. Manufacturers change controls and diagnostic systems across product lines. If you cannot confidently match the model and indicator, stop short of making adjustments.
Separate the trigger from the current fault
Knowing when the trouble began helps, but it does not prove the cause. A storm may leave you with a power problem, damaged wiring, or an unrelated mechanical issue that happened at the same time.
If the flashing started after power was restored, these safe checks for an opener after a power outage can help you check the power side without treating every symptom as a reset problem.
Make Only the Checks That Fit the Indicator
Once the manual points to a particular system, keep your checks focused there. Changing several things at once can hide the original problem and create a new one.
Start with observation. You should not need to remove a motor cover, touch terminals, or handle springs to identify a flashing light.
If the manual points to the safety sensors
Look for a storage tote, broom, leaf, or other object interrupting the beam. Gently wipe dirty sensor lenses with a soft cloth. Check whether a bracket looks bumped or a wire appears pinched, cut, or pulled loose.
Follow the manual if it provides a homeowner alignment procedure. Do not twist brackets at random, move sensors away from the doorway, or join wires together to defeat the system. If a wire is damaged or the bracket will not stay secure, arrange repair.
If the wall control is flashing
Check the manual for a lock or vacation feature before assuming the opener has failed. Depending on the system, that setting may affect wireless controls while allowing operation from the wall control.
Use only the documented procedure for your control. Holding an unfamiliar button can enter programming mode or change settings. If the wall control works but the remote does not, this guide to a garage door that won't work with the remote addresses that separate symptom.
If a separate LED fixture is flashing
A ceiling fixture that flickers while the opener is idle may have its own bulb, driver, switch, or supply problem. A compatible replacement bulb may be a reasonable check for a standard replaceable bulb, with power off and the bulb cool. Do not open an integrated fixture or exposed wiring.
Some LED bulbs can interfere with garage door remote reception. That usually calls for checking bulb compatibility, not assuming the flicker is an opener diagnostic code. If several lights flicker, a breaker keeps tripping, or you notice heat, buzzing, or a burning smell, stop and contact an electrician.
Why a Generic Reset Can Make Troubleshooting Harder
Unplugging the opener may restart its electronics, but it will not repair a broken wire, restore a damaged sensor bracket, or fix a door that binds. A restart can also change or temporarily clear the visible symptom before you have recorded it.
That is why “unplug it and try again” should not be the first answer to every flashing light. Record the pattern, identify the model, and follow the manufacturer's instructions for that condition.
A power cycle is not the same as a factory reset
Briefly disconnecting power, clearing remote memory, and resetting travel settings are different actions. Their effects depend on the opener. Don't hold a Learn or setup button unless the manual specifically tells you to do so for the problem at hand.
Some openers have battery backup, so unplugging them may not fully remove power. Do not open the housing or disconnect internal components to force a reset. Use the documented procedure or leave that work to a technician.
Never trade safety for a temporary fix
Do not bypass sensors, increase force settings to push through resistance, or repeatedly command a stuck door. A flashing warning that disappears after you defeat a safety feature is not a successful repair.
My advice is simple: a small delay to identify the fault is better than making a heavy door move unpredictably. Keep the opening clear and use another entrance until you know the door is safe.
Know When the Flashing Needs Professional Diagnosis
Call for service when the manual's safe checks do not resolve the problem, the indicator returns, or the instructions point to internal wiring, motor components, or control-board testing. Those repairs require more than reading a flash chart.
An opener can also report trouble because the door is difficult to move. A damaged track, worn hardware, or spring problem may overload the operator. Replacing the opener without checking the door can leave the underlying problem in place.
Stop operating the door if you notice loose cables, a visibly separated spring, grinding, a crooked door, or movement that suddenly becomes jerky. Leave spring, cable, and off-track work to a trained technician. Do not try to determine the door's balance by releasing a questionable door yourself.
If you're searching for garage door opener repair near me, explain both the light and the door's behavior when you call. “The small indicator beside the setup button flashes after I press the wall control, and the motor stays silent” is much more useful than “the opener is broken.”
For Lima-area property managers, ask occupants to stop testing the door once an unsafe condition is reported. Share an alternate entry plan and keep the door's path clear until it can be assessed.
What to Send When You Book Service
A clear service request helps the technician prepare for the right kind of diagnosis. Send a photo of the opener label if you can get it safely, along with the video of the flashing indicator.
Include the light's location, color, repeating pattern, and what happens when you use the wall control or remote. Mention any outage, impact, water exposure, unusual sound, or recent adjustment. Also say whether the door is open, closed, or preventing you from securing the garage.
You do not need to name the failed part. Accurate observations are enough. The repair and final price can be confirmed after the technician sees the door and opener.
For help in Lima and nearby towns, contact Same Day Garage Door at (419) 909-0197. Include your opener model, light location, and flash pattern when you book.
Frequently asked questions
Will unplugging the garage door opener reset it?
Unplugging may restart the electronics, but it is not the same as a factory reset and will not fix a mechanical or wiring problem. Record the flashing pattern first, then follow your model's instructions, especially if the opener has battery backup.
Why is the yellow light on my LiftMaster blinking?
The meaning depends on the opener model and where the yellow light is located. Identify whether you are watching a sensor, a setup indicator, or another status light, then match its pattern to the correct manual.
My Chamberlain garage door opener blinks two times. What could be causing this?
A two-flash pattern cannot be interpreted reliably without knowing the model and which light is flashing. Record any other indicators that flash before or after it, then compare the complete pattern with your model's diagnostic chart.
Why is my LED garage light flashing?
A separate LED fixture may have a bulb, driver, switch, or electrical supply problem rather than an opener fault. If multiple lights flicker or you notice buzzing, heat, a burning smell, or repeated breaker trips, stop using the affected equipment and contact an electrician.