Why Is My Garage Door Sensor Yellow? Check First
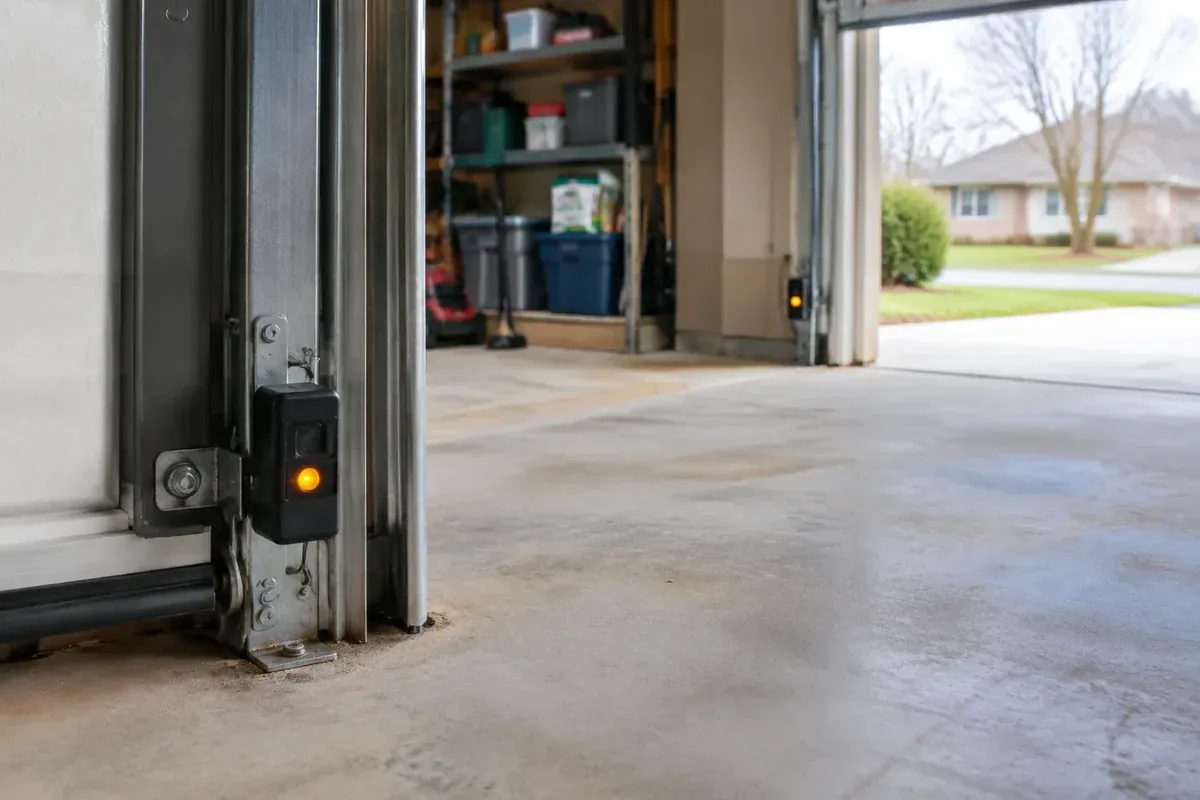
If you’re asking, “Why is my garage door sensor yellow?” the answer may be simple: that light could be normal. On some garage door openers, a steady yellow or amber light identifies the sensor that sends the safety beam. It does not automatically mean a part has failed.
The right interpretation depends on your opener model, whether the light stays steady or flashes, and what the sensor across from it is doing. Don’t loosen brackets or order replacement parts based on color alone.
If you would rather have someone help identify the indicator, contact Same Day Garage Door in Lima with the opener model and a description of both sensor lights. Those details are more useful than “the sensor looks yellow.”
Why Is My Garage Door Sensor Yellow Instead of Green?
Garage door safety sensors work as a pair. A sending sensor projects an invisible beam across the doorway, and a receiving sensor detects it. The opener uses that signal as part of its protection against closing on an obstruction.
Because the sensors have different jobs, their indicator lights do not always match. A yellow light on one side and a green light on the other can be the intended arrangement. Trying to make both lights green may mean trying to fix something that is already working correctly.
Yellow, amber, and orange can describe the same light
People describe indicator colors differently. A small amber light may look yellow in daylight and orange inside a darker garage. A phone photo can also make the color look different from what you see in person.
That matters when you search for help. Advice about an orange LiftMaster sensor may concern the same type of indicator another homeowner calls yellow. On some LiftMaster systems, a steady amber sending-sensor light is normal, but you still need to match that explanation to your model.
The location matters as much as the color
Make sure you are looking at a safety sensor near the bottom of the door track, facing across the opening. An indicator on the overhead motor unit, wall control, or another accessory can have a different meaning.
Before you do anything, write down where the light is. “Steady yellow light on the sensor beside the left track” gives you a useful starting point. “Yellow light somewhere on the opener” leaves too much room for a wrong diagnosis.
Match the Light to Your Opener’s Manual
Your model’s instructions should settle what the indicator means. General advice can help you understand the system, but it should not override the manual for the equipment installed in your garage.
Find the brand and model information on the opener’s label, if you can read it safely. You may also have that information in the original paperwork or installation records. Don’t climb onto a vehicle, shelving, or an unstable chair to reach it.
Look for the sensor indicator explanation
In the manual, look for sections about safety reversing sensors, photoelectric sensors, indicator lights, or troubleshooting. Match the full condition, not just the color. A steady amber light and a blinking amber light may not mean the same thing.
Pay attention to which sensor the manual describes. Instructions for the sending sensor may be different from those for the receiving sensor. Also check whether a flashing pattern belongs to the sensor itself or the overhead opener light.
If the opener or sensors were replaced at different times, appearance alone may not establish compatibility. A sensor that looks similar to the original is not necessarily the correct replacement. That is a reason to get help identifying the equipment rather than buying a part by color or shape.
Don’t reset the opener just to clear a normal light
A reset is not a useful first response to a steady yellow indicator. Depending on the system and the procedure, resetting or changing settings may create extra setup work without addressing the reason you were concerned.
Start with observation and the manual. If the manual describes your light arrangement as normal and the door has no operating symptoms, the color alone does not justify an adjustment or replacement.
Compare Both Sensors and Note What the Door Does
A single light gives you only part of the picture. Look across the opening and record the condition of the other sensor before drawing a conclusion.
Keep people, pets, and belongings clear of the door. Observe from beside the opening, not while standing under a moving door. You do not need to create a closing problem to gather useful information.
Use this comparison as a guide for your next step, not as a substitute for the model’s instructions:
| What you observe | What it may tell you | Sensible next step |
|---|---|---|
| Steady yellow or amber on one sensor, steady light on the other, normal operation | The lights may show normal sending and receiving status | Confirm the expected colors in the manual; leave the brackets alone |
| Yellow light stays steady, but the other sensor is dark | The pair needs closer evaluation; color alone does not identify the cause | Look for visible blockage or damage and compare with the manual |
| A sensor indicator flashes or flickers | The signal, power, wiring, or another model-specific condition may need attention | Record which light changes and when; avoid guessing at an adjustment |
| Both sensor lights are off | This is not simply a yellow-light question | Check the manual and seek help if the cause is unclear |
| A sensor housing is cracked or a wire is visibly damaged | There is a physical problem to assess | Stop handling the affected part and arrange service |
Separate the indicator from an actual symptom
Does the door operate normally, or does it reverse unexpectedly? Did the light recently change, or did you simply notice it while sweeping the garage? That difference matters.
A yellow indicator that has always been present is a different concern from a light that flickers whenever a loose wire moves. Likewise, a closing problem does not prove that a steady yellow sending light is the failed part.
If the door also has a flashing overhead light, our guide to a garage door that is not working and has a flashing light can help you separate that symptom from the sensor’s indicator. Avoid mixing up separate lights when describing the problem.
Inspect the Area Without Moving the Brackets
A careful visual check is reasonable. Start with the doorway and the space around the sensors, leaving the mounting hardware and wiring alone.
In Lima, fall leaves can collect along the garage opening, while winter slush and road grit can leave the lower part of the garage dirty. A snow shovel, storage tote, or rolled-up mat can also end up in the beam’s path. These are worth noticing, but none automatically explains a yellow light.
What you can check safely
With the door stopped and nobody operating it, look for:
- Stored items, leaves, or debris between the sensors.
- Dust, cobwebs, or visible dirt on the sensor lenses.
- A sensor hanging loose or a bracket that appears bent.
- Cracked housings or signs that something struck a sensor.
- Visible wires that are pinched, cut, pulled loose, or chewed.
- Moisture around a damaged housing or wire connection.
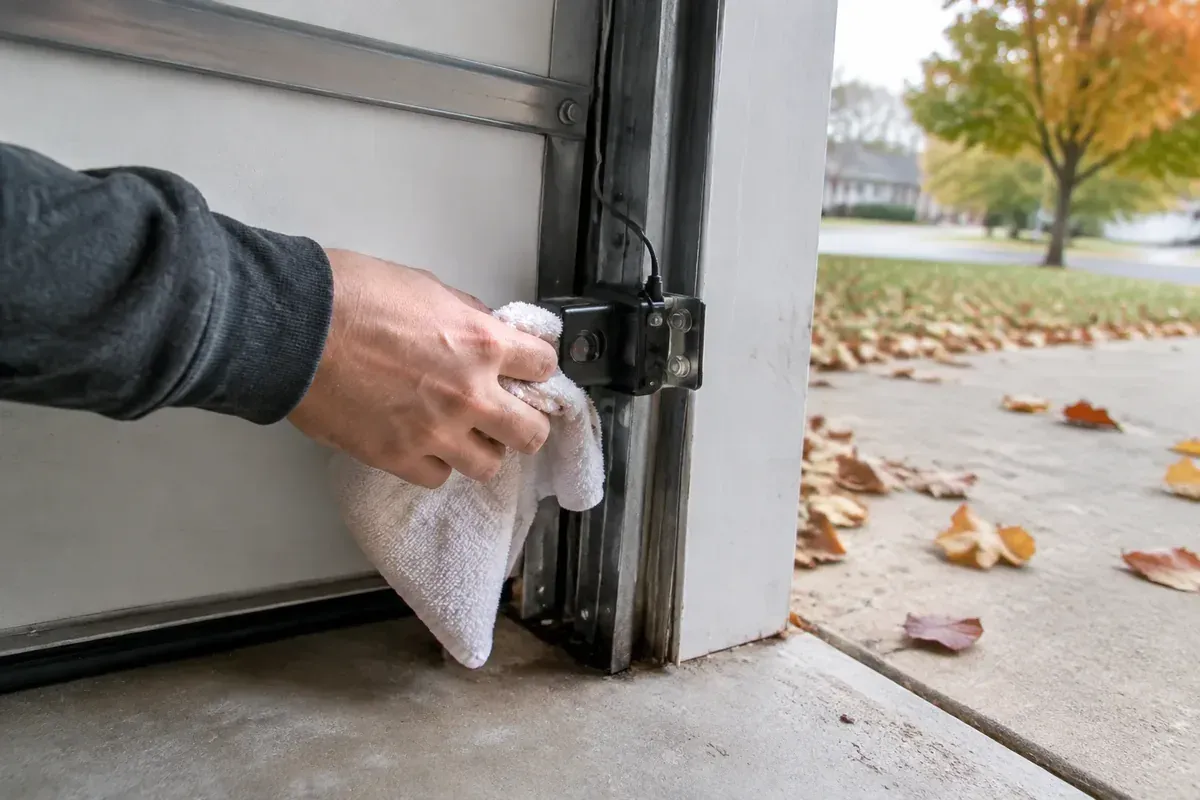
Move loose clutter out of the opening. If a lens is dusty, gently wipe it with a clean, soft cloth without pushing the sensor out of position. Avoid spraying cleaner into the housing or soaking the electrical parts.
Notice sunlight without improvising a cover
If the problem happens only when bright sunlight enters the garage, include that observation in your notes. Direct light can affect some receiving sensors, but timing alone does not prove that sunlight is the cause.
Do not tape over the lens or attach a makeshift cover that blocks its view. Any approved shielding or installation change should follow the manufacturer’s directions. The goal is to preserve the safety beam, not hide an indicator you do not like.
Don’t Bypass Sensors or Guess at Wiring
The safety sensors are not an optional convenience. Don’t tape them together, relocate them so they face each other away from the doorway, or alter wiring to make the opener ignore them.
A door that closes after a bypass is not a repaired door. It has lost a safety function, and that can put people, pets, and property at risk.
Color does not tell you the wiring requirements
Sensor wiring is another place where guessing causes trouble. These systems commonly use low-voltage wiring supplied by the opener, but the required voltage, connections, and testing procedure depend on the equipment.
Do not connect a sensor directly to household power, substitute a random power supply, or probe terminals based on advice for a different model. If electrical testing is needed, the technician should use the correct information for that system.
The same caution applies to replacement sensors. Matching the brand name or finding a similar-looking housing is not enough to confirm that a part will work with your opener.
Leave unrelated adjustments alone
Changing closing force or travel settings does not explain why a sensor indicator is yellow. Neither does working on springs, cables, or track hardware.
Keep the scope of your check narrow. If you find an abnormal light or an operating problem you cannot explain, garage door opener repair and diagnosis is more useful than changing several settings and hoping something improves.
Know When the Indicator Needs a Technician
You do not need a service call just because you noticed a steady yellow light. If the manual identifies it as normal, the other indicator matches the expected condition, and the system works as intended, leave the sensor in place.
Get help when the light behavior does not match the manual, the indicator keeps changing, or you see damaged parts. A sensor that has been hit by a bicycle or storage bin deserves closer attention even if its light still comes on.
Stop using a visibly unsafe door
A crooked door, hanging cable, loose track, or door that moves unpredictably is more serious than an unexplained indicator. Keep people clear and do not keep cycling the opener to gather more clues.
If the opener moves the door despite an apparent obstruction-detection problem, stop using it until the safety system is checked. Do not place your body, a pet, or a valuable object in the opening to test it. Follow the manufacturer’s testing instructions, or have a technician perform the check.
For property managers, a tenant’s report of “an orange light” is a starting point, not a diagnosis. Ask for the opener model, clear photos of both sensors, and a description of any unusual operation. Tell residents not to move brackets or bypass the system while waiting for an assessment.
What to Have Ready Before You Call
A little information can prevent a lot of guessing. You do not need to take anything apart or understand the electronics to make a useful report.
Have these details ready if you can collect them safely:
- The opener brand and model.
- Which sensor has the yellow or amber indicator.
- Whether each sensor light is steady, flashing, flickering, or off.
- Whether the door has an actual operating problem.
- Any recent impact, water exposure, or visible wire damage.
- Whether the condition changes with sunlight or happens all the time.
Photos are useful when they show each sensor, its bracket, and the nearby wiring. A close-up of a glowing light alone may leave out the detail that explains the concern. Don’t remove covers or tug on wires to get a better picture.
The practical rule is simple: identify the equipment before treating a color as a fault. A normal yellow light should be left alone; an unexplained change, damaged component, or unsafe operation deserves attention.
If the meaning is still unclear, call Same Day Garage Door at (419) 909-0197. Share the opener model and both sensor-light observations so the team can help you plan the next step in Lima or a nearby town.
Frequently asked questions
What color should garage door sensor lights be?
There is no single color arrangement for every garage door opener. Some systems use a yellow or amber sending light and a green receiving light, so check your model’s manual before assuming the colors should match.
What does an orange LiftMaster garage door sensor light mean?
On some LiftMaster systems, a steady amber or orange light identifies the sending sensor and is normal. Confirm the meaning for your model, especially if the light is flashing or the door has started acting differently.
What voltage do garage door sensors use?
Garage door safety sensors commonly receive low-voltage power from the opener, but the required voltage and testing method depend on the model. Use the manufacturer’s service information rather than a general voltage value, and never connect a sensor directly to household power.
How can I fix a faulty garage door sensor?
First confirm that the indicator actually signals a fault, then check for loose clutter, a dirty lens, or visible damage without moving the brackets. Damaged wiring, broken housings, persistent abnormal indicators, or unclear instructions are reasons to have a technician inspect the system.
Should I replace a sensor if its yellow light stays on?
Not based on that light alone. A steady yellow indicator may be normal, so replacement should follow a diagnosis of the sensor pair, wiring, and opener rather than a guess about color.